How to Digitise a Paper Pattern in Minutes
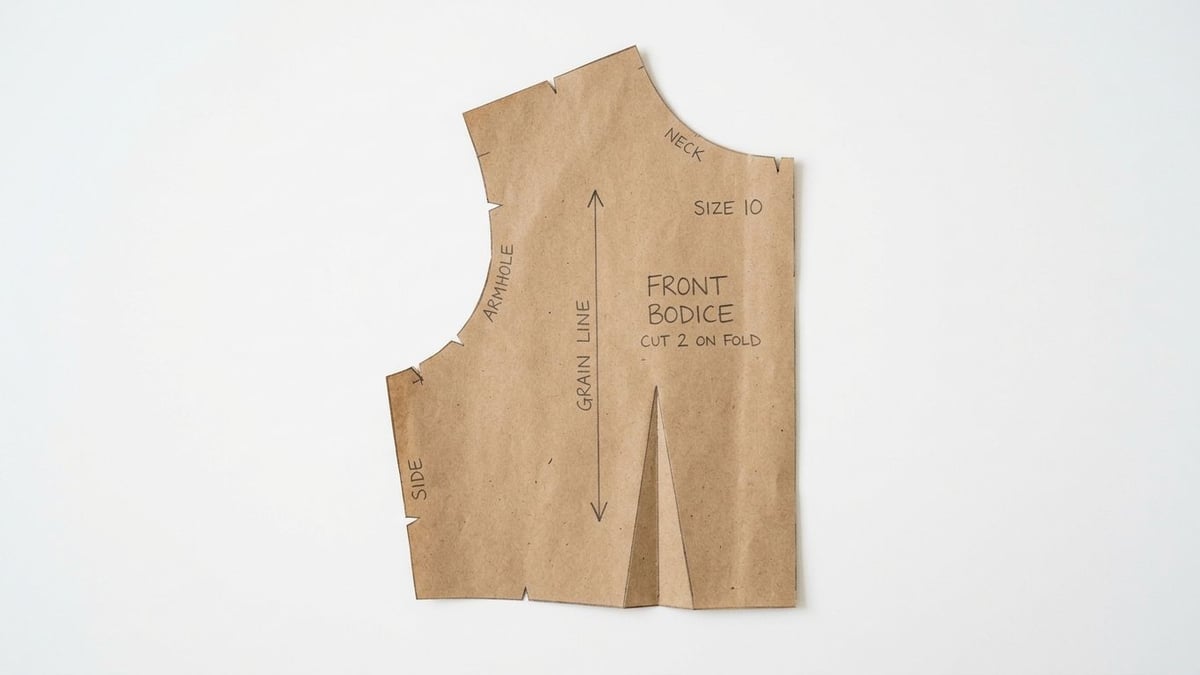
Turn a paper pattern into an accurate digital piece using just a photo or scan.
You don't need a digitising table to get your paper patterns into GRADET. A photo or scan is enough.
1. Take a good photo or scan
Lay the pattern flat on a plain, contrasting surface. Shoot from directly above with even light and no shadows, or scan it. PDFs work too.
2. Upload and remove the background
Create a project, drag your file onto the Workspace, then click Remove background and choose "Auto-detect edges".
3. Trace the outline
Use Auto-trace for a one-click outline, or Trace outline to click around the edge yourself. Click the first point to close it.
4. Calibrate
Measure one edge of the real pattern with a ruler. Click Calibrate, click both ends of that edge, and type the length. Your piece is now true to scale.
5. Add markings and tidy up
Add a grain line, notches and labels. Use Edit points to fine-tune curves, then hide the photo. Print at true scale to check the size.
Tip: Set your size system and base size in Properties now if you plan to grade.